
Sessions 6-7
Backing
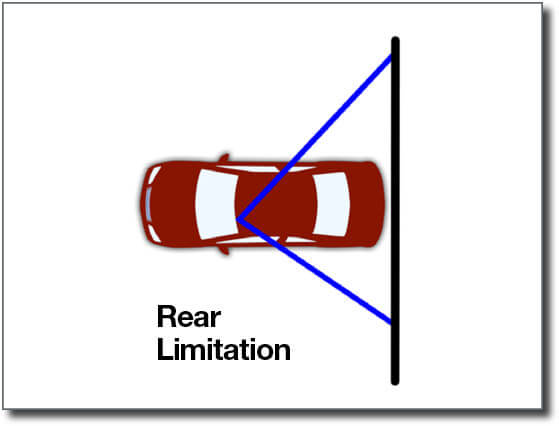
Repeat the tasks listed in sessions 3-5 with the vehicle in reverse gear at idle or slow speeds. Backing from one target to another allows your teen to practice seeing, steering, and speed control skills with the vehicle in reverse gear. Switch places with your teen to demonstrate each backing task.
One-Hand Steering
Movement of the steering wheel with one hand is recommended only for backing maneuvers that do not require full left or right turns.
Backing and steering with one hand requires shifting one’s hips and seating position so the driver’s head can be turned to see beyond the head restraint. One loses depth perception when using the mirrors to guide the vehicle when backing. To improve balance, the driver’s right arm can be draped over the back of the seat. The left hand grips the steering wheel near the top and turns it in the direction the driver wants the vehicle to go. Sharp turns while backing may require use of both hands. Since it is more difficult to maintain steering control and vehicle balance when the vehicle is in reverse, emphasize backing at slow speeds. Reverse is a more powerful gear than drive, so coach your teen to use the accelerator pedal carefully, if at all.
To practice backing the vehicle in a straight line, have your teen:
- check all areas behind the vehicle prior to and while backing;
- pivot the heel, place the right foot on the brake, and shift to reverse;
- grasp the steering wheel at 12 o’clock with the left hand;
- look over right shoulder through the back window;
- use the brake and accelerator effectively for speed control; and
- make frequent quick checks to the front and stop at a designated line.
To practice backing and turning the vehicle, have your teen:
- grasp the steering wheel at 12 o’clock with the right hand if turning to the left, or with the left hand if turning to the right;
- look in the direction you are moving through the rear side windows;
- keep speed slow using brake and accelerator effectively for speed control; and
- make quick checks to the front and sides.
Rear Bumper Reference Points
To align the rear bumper 3-6 inches from a line or curb, the driver should stop when the line or curb appears near the middle of the rear right window when looking over the right shoulder. Have the teen get out of the car to see whether the rear bumper is 3-6 inches from the designated line. Adjust the vehicle’s position as needed, and reestablish the rear side window reference point from the inside of the car.
To align the rear bumper 3 feet from a curb when backing around a corner to the right, the driver looks over the right shoulder and should see the curb in the rear side window near the corner roof.
When backing around a corner to the left, the pivot point is the center of the rear axle between your rear tires. To establish a three-foot pivot point, the driver looks over the left shoulder and aligns the corner of the turn with the rear left tire.
|
Checklist for Sessions 6 & 7 |
|
| Place “S” for satisfactory as the following tasks are completed: | |
| Approaches the vehicle with awareness | |
| Enters the vehicle and makes appropriate checks and adjustments | |
| Identifies controls | |
| Prepares to drive | |
| Follows steps to put vehicle in motion | |
| Controls speed | |
| Uses commentary driving | |
|
Backing straight |
|
| Checks all areas around the vehicle prior to putting it in reverse and while backing | |
| Pivots foot to brake pedal and shifts to reverse | |
| Grasps steering wheel at 12 o’clock with left hand | |
| Looks through the back window and targets path of travel | |
| Uses accelerator and brake effectively for speed control | |
| Demonstrates effective steering technique | |
| Makes frequent quick checks to the front | |
| Stops with rear bumper 3-6 inches from a designated pavement line using reference points | |
| Stops the vehicle completely before turning back around to face the front of the car | |
|
Backing and turning |
|
| Searches all areas prior to putting the vehicle in reverse and while backing | |
| Grasps steering wheel at 12 o’clock position with the right hand for a left turn | |
| Grasps steering wheel at 12 o’clock position with the left hand for a right turn | |
| Demonstrates effective one-hand and hand-to-hand steering techniques | |
| Searches path of travel through rear side windows | |
| Keeps speed slow using idle speed or slight acceleration | |
| Stops with rear bumper 3 feet from designated pavement line using reference points | |
| Stops at the rear tire pivot point prior to turning | |
| Makes frequent quick checks to the front and sides to determine lane position | |
| Steers in the correct direction gradually and straightens the direction of the car | |
| Looks to the rear and front and stops at designated pavement line | |
| Stops the vehicle completely before turning around | |
| Properly secures the vehicle | |